Blogger Download Best Responsive Blogger Templates for Free September 27, 2019 / September 30, 2019 by Maninder | 1 Comment on Download Best Responsive Blogger Templates for Free Google Blogger is the best place for beginners to learn about blogging basics, but if you want to go with blogger as professional then, you need professional responsive blogger templates. So let’s start… Best AMP Blogger Templates – 100% Adsense Friendly All in One Festival Wishing Scripts for Free Free Proxy Sites | Unlock Any […] Read more » AMP Blogger Templates Blogger Blogger Script
Blogger Scripts All in One – 10+Wishing Scripts for Blogger August 19, 2019 / October 23, 2019 by Maninder | 7 Comments on All in One – 10+Wishing Scripts for Blogger Creating wishing websites and earn money by event blogging, not a bad idea. So, in this article, I will represent the 10+(All in One) wishing script for blogger with downloads. What is Event Blogging(Wishing Sites)? In Short, Event bogging also known as wishing script sites. Basically, it is an HTML and CSS based code. And […] Read more » Blogger Script Scripts Wishing Scripts for Blogger
Blogger SEO How To Add Beautiful Table in Google Blogger May 16, 2019 / June 8, 2019 by Maninder | 4 Comments on How To Add Beautiful Table in Google Blogger Hi, In the article today we learn How To Add Beautiful Table in Google Blogger. As We Know There are many limitations in google blogger, and like WordPress, we can’t add any 3rd party plugins to our website to add tables in google blogger. So, in this case, we can use bootstrap HTML code to […] Read more » Blogger Blogger Script
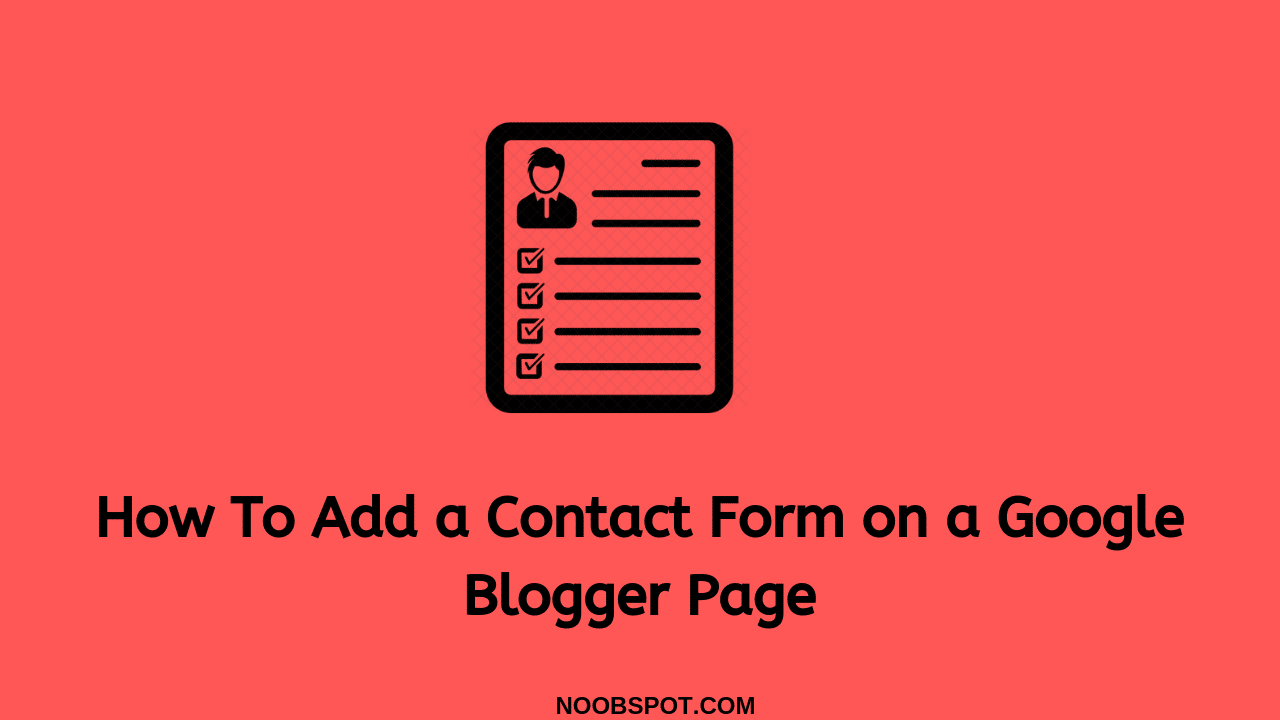
Blogger Wordpress How To Add a Contact Form on a Google Blogger Page May 3, 2019 / June 22, 2019 by Maninder | 12 Comments on How To Add a Contact Form on a Google Blogger Page Hi in Article we introduce how to add WordPress like contact form in blogger without adding any widget, just with simple html code. What is Contact Form Contact form is an impotanmt page of a website allow to the visitor to send you an email for any improvements, information or complaints, Google Adsense also recommend […] Read more » Blogger Script Contact Form for Blogger